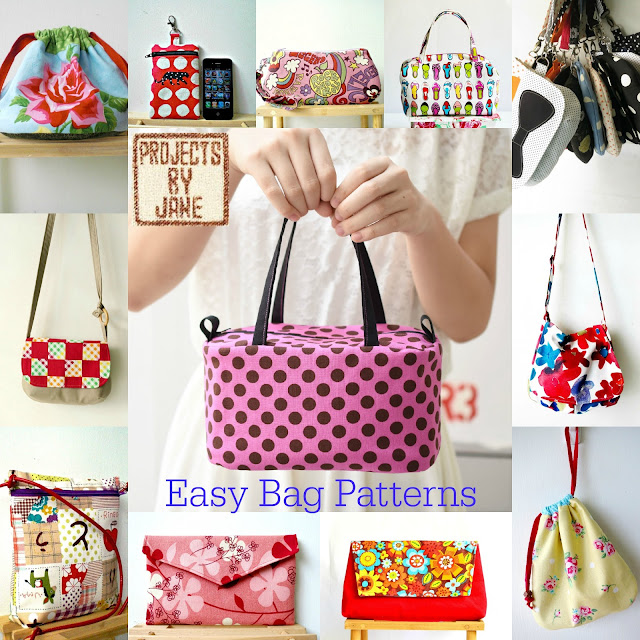
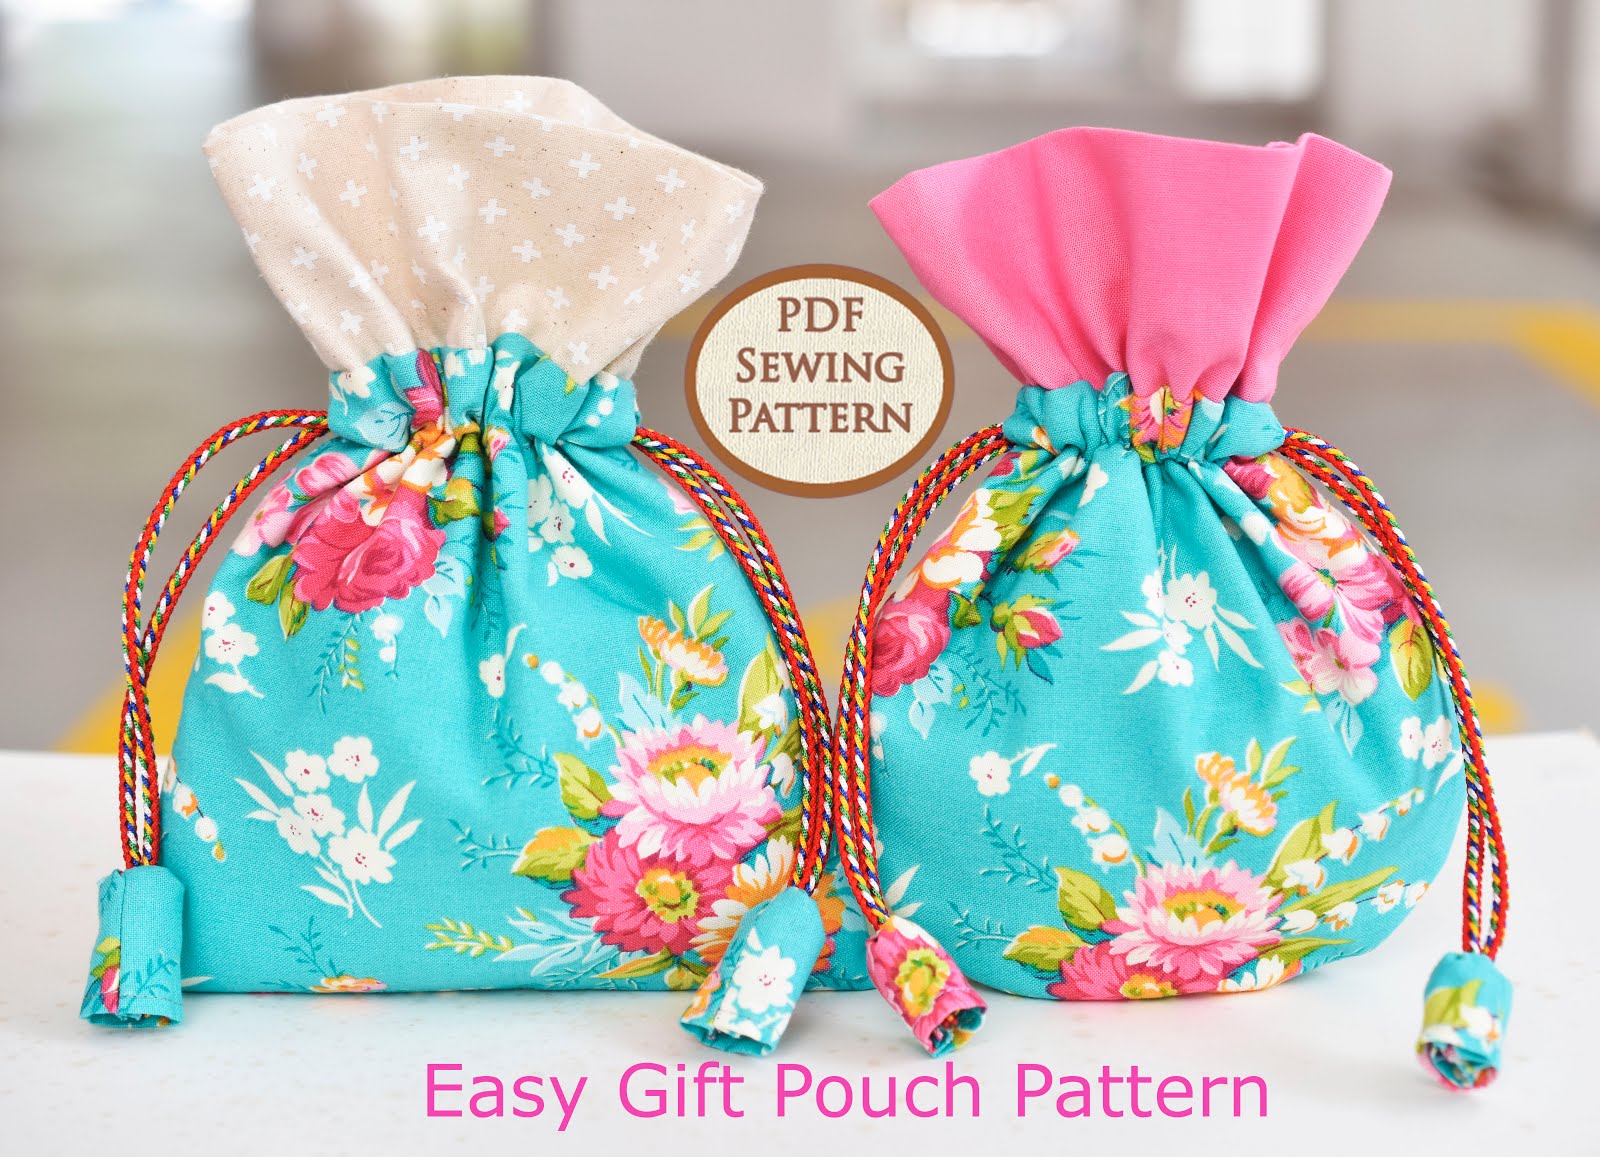
Friends,
Fyi, the year of the rooster is almost ending. So fast, right? The Year of the Dog will begin on Feb 16 and end on Feb 4 2019. You know what that means? Most Chinese locals are busy spring cleaning, buying and baking festive food in preparation for Chinese New Year. Well, I really wanted to skip the spring cleaning myself but in the end I decided to do "a bit" of vacuuming and tidying today. The bloody dust will return in a week's time anyway!
Usually my home is devoid of any Chinese New Year decorations or goodies. I can't remember why but that's the way it has always been. (maybe rebel without a cause?) This year however, I became interested in making my own "Chun" paper cutting. My friend, SK showed me how it's done and it's so easy. In case you don't have a single Chinese friend to explain "Chun" to you and you don't know how to google, it means Spring. In China, Spring Festival marks the start of the new year. In Singapore of course we do not have Spring but it doesn't matter. The "Chun" character is hung or pasted everywhere in malls and homes. Some people go to the extent of putting the "Chun" character upside down but let's not go there.
So I took the liberty of creating 2 versions of "Chun" using Illustrator. I've uploaded them to my google drive so you can download and make your own "Chun" paper art.
By the way, this is how "Chun" is written. It's pronounced "Choon" like in moon.
The straight edges version. Download
chun v 1.
The curvy version. Download
chun v 2.
I assume everyone on earth knows how paper cutting works but just in case, here's what you do. First you print on A4 or letter size paper. Print at 100% or Actual Size. Fold paper on the dotted line, staple outside the lines and cut exactly on the lines. You can print the template directly on coloured or fancy paper provided it's A4 or letter size. Just REMEMBER to print on the WRONG side of the coloured/fancy paper because remember I have a dotted line which will be visible after cutting.
You can also trace the whole template off a nice scrapbooking paper and cut with scissors or if you aren't scared of craft knives like me, use it.
So here's mine. The left one's cut off a scrapbooking paper and the right one I printed on a piece of well, red paper. I've pasted mine on the wall. You can mount them on a art board or something but it's not necessary.
You can also create an applique. If you don't know how to create one, check out my
applique tutes. I traced the template onto the fusible paper (in half) and stapled outside the lines. The stapling is really important to prevent your fabric from shifting.
After the shape has been cut, I bonded the applique to a background fabric and sewed running stitches all around. For the applique, I used leftover fabric (a momo print) from my craft market days. I had left the fabric in the water for too long and the red had bled into the white. For Chinese New Year or just being Chinese in general, red is lucky so win-win. Looking at the applique now, I wished I had been smarter in my fussy cutting and not have so much red at the bottom right as my background fabric is also red. (a leftover Ikea fabric) Are you impressed I can remember my fabric's names?
I've pasted my "Chun" applique to the wall using masking tape. Please feel free to use other less clumsy methods.
My daughter likes the first one. My son prefers the second one because he says it looks like calligraphy. I didn't ask them what they think of the applique because you know, it's sewing and I can guess their answer.
Okay, I think my home is ready for the Year of the Dog. Bring it on.
p.s. To see how I finished my Chun "quilt", go
here.